In the end we will conserve only what we love;
We will love only what we understand;
And we will understand only what we are taught.
– Baba Dioum
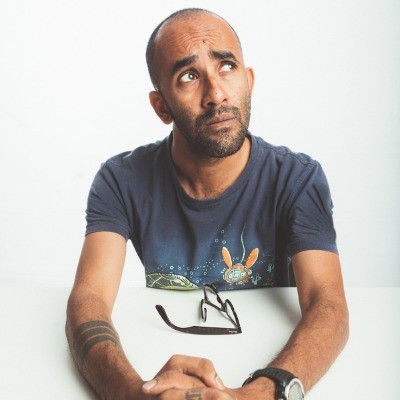
My fascination for the ocean began at the age of five, when my dad took me to see the movie Jaws. The movie made a villain out of the Great White Shark, and scared a whole generation out of the water, but for me, it was less nautical terror, more stunningly effective thriller. So effective, in fact, that it left me with an enduring sense of wonder and curiosity for the salty sea and all its creatures.
I admit, it took me 25 years after watching the movie to get myself into a pair of fins and dive into the ocean. But once I did, I soon married my first love – photography – to scuba diving. This changed everything for me. Of all the things I photograph, I love the ocean the most. I’m fascinated by the way light acts underwater – the way it bends, folds, gleams, dances and brightens the dark ocean. I have been fortunate enough to have spent the last 6 years in a Steven Spielberg-esque blockbuster kind of entertaining sea, capturing exquisite and awe-inspiring marine creatures, from tiny sea horses to the magnificent whale shark.
Shooting images underwater is markedly different from shooting on land, so I had to teach myself everything from scratch. For a self-taught cinematographer, it was not an easy transition, but many trials and errors later, I have a few diving tips I would like to share with you.
Know your equipment
With a couple of hand gestures, I asked my dive buddy Nikhil Chinapa to position himself at the mouth of this cave, as I swam into the cave to take the image. Communication is key when you are underwater. When your dive buddy and you have dived together long enough, communication becomes easy. I can’t stress enough how important it is to get your diving skills right, before you invest in a housing /underwater camera. A bad diver with a camera is bad news and isn't liked by many. Perfect your buoyancy first, and once you do that, shooting underwater will be much easier.

Tip: The first and most important thing about shooting underwater is to know and understand your equipment. It is almost an extension of your body underwater, so it is imperative to learn to set up your housing before a dive and discipline yourself to take care of it after the dive. I personally clean and grease the housing before and after every dive. You don’t want be in a situation where you are 20 metres underwater and realise your housing is flooded. Trust me, there isn't much you can do to save your camera after that. Once you are familiar with your equipment, you can stay focused on the experiences around you, and the opportunities to shoot while you’re on the dive.
Here is my equipment list for underwater photography –
Camera - Canon 5d mark 3/4
U/W Housing - Ikelite 200DL
Lens - Canon 16-35 L F2.8 and Canon 100mm macro
Light - DS 161 x 2
Spend time with your subject
D’Jenny is the resident Tiger Shark in Jupiter, Florida. I was a new guy on the dive and only getting accustomed to my presence, around half an hour into the dive, did she feel comfortable enough to move in closer.
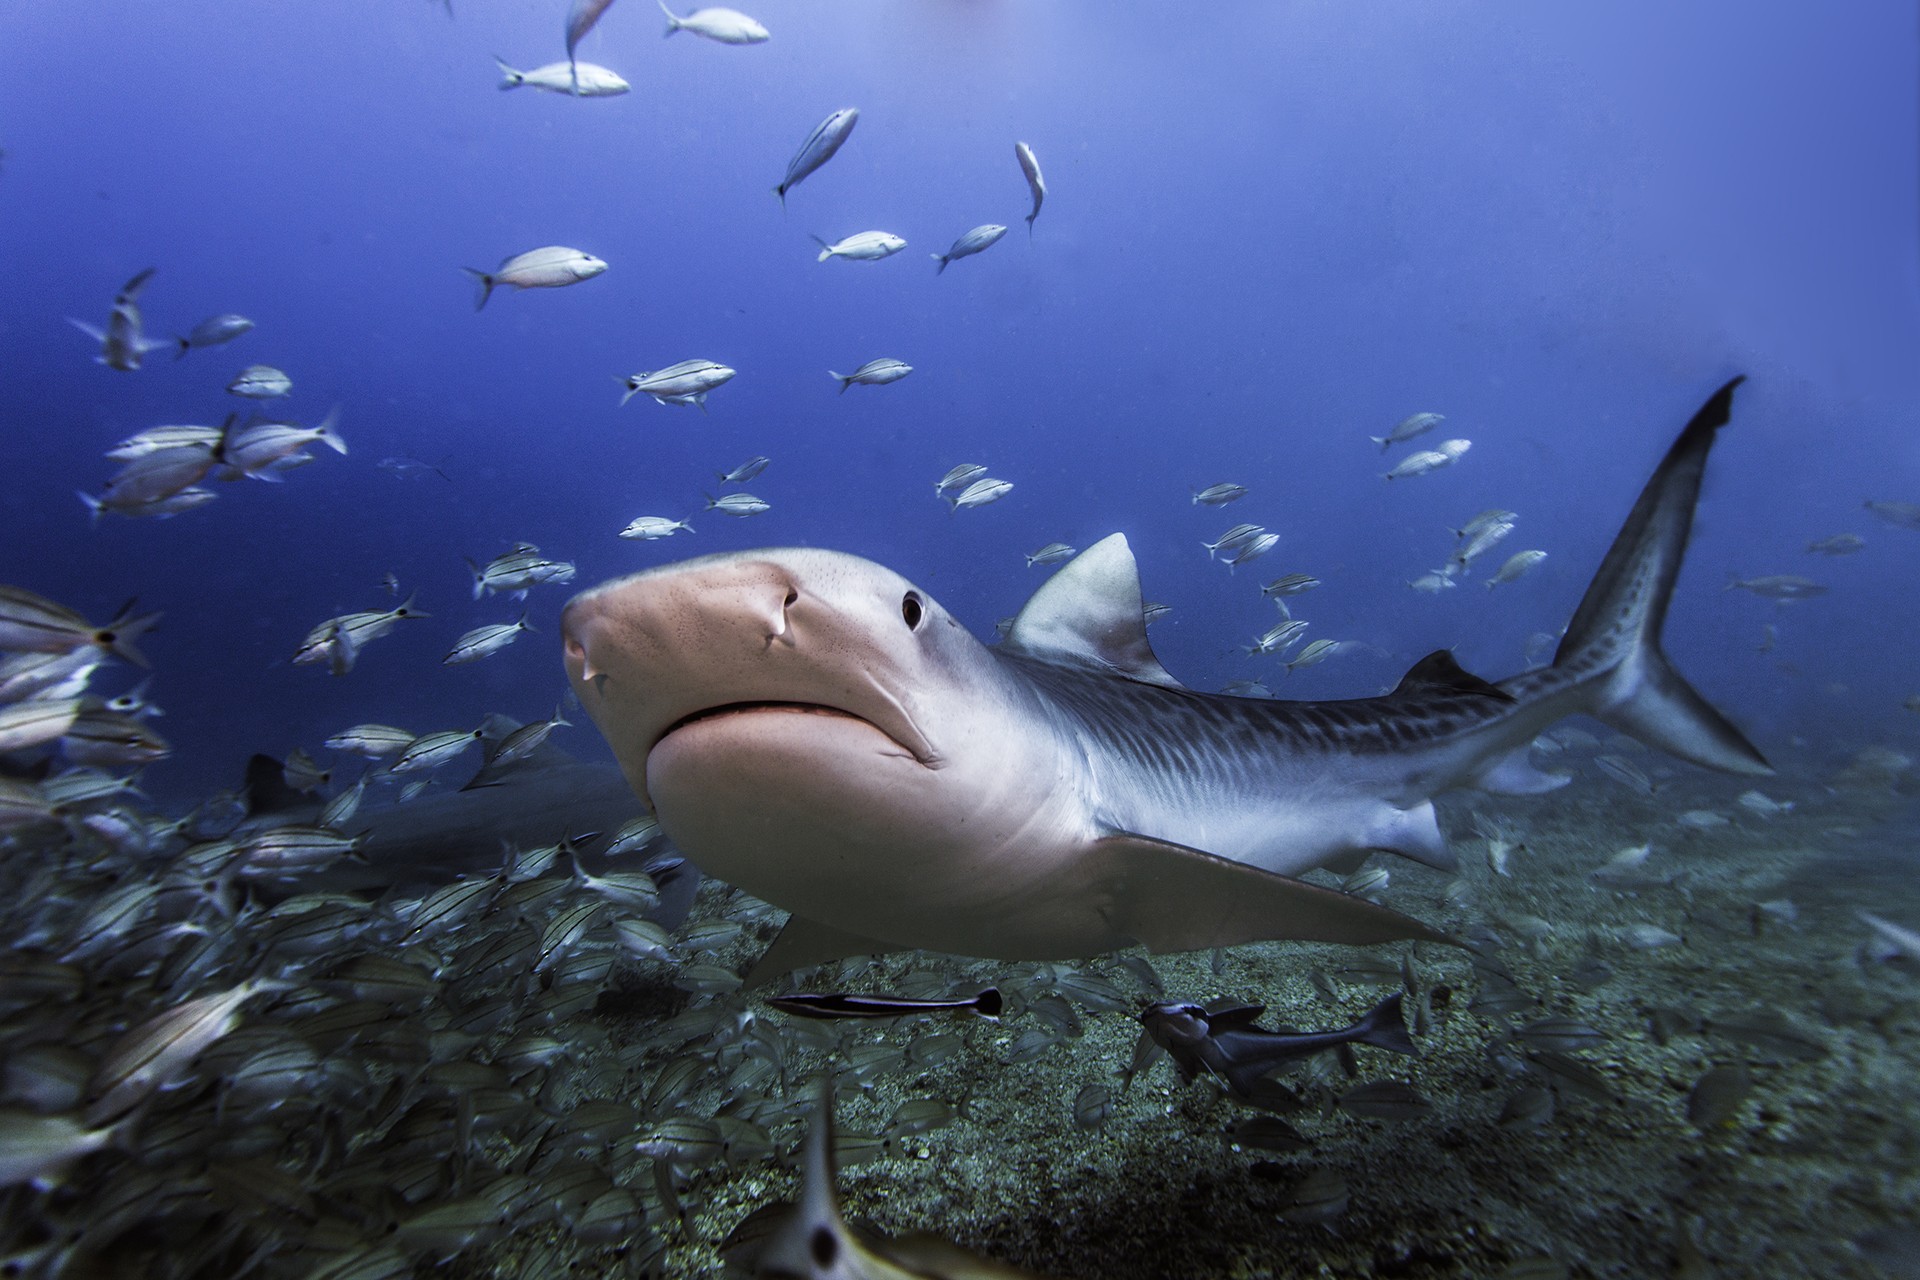
Tip: Be patient - Most marine creatures are camera/scuba diver shy. Patience is a skill you will want to take with you on your next dive. Spend time with just one subject through the dive, and you will be rewarded with fascinating stories, and some great looking images (or sometimes, just one spectacular shot). It’s a transformative experience.
Pick the right lens
It was a perfect day in March, earlier this year, when we were on our way to the Deep South in the Maldives to get a glimpse of five Manta Rays at their cleaning station. Cleaning stations are certain locations where fish, mantas and sharks come to get their skin, gills, and teeth cleaned by parasitic copepods and a variety of small cleaner wrasse species. Mantas spend many hours every day getting cleaned and can even wait in line for their turn. And oh, did they put on a show for us!
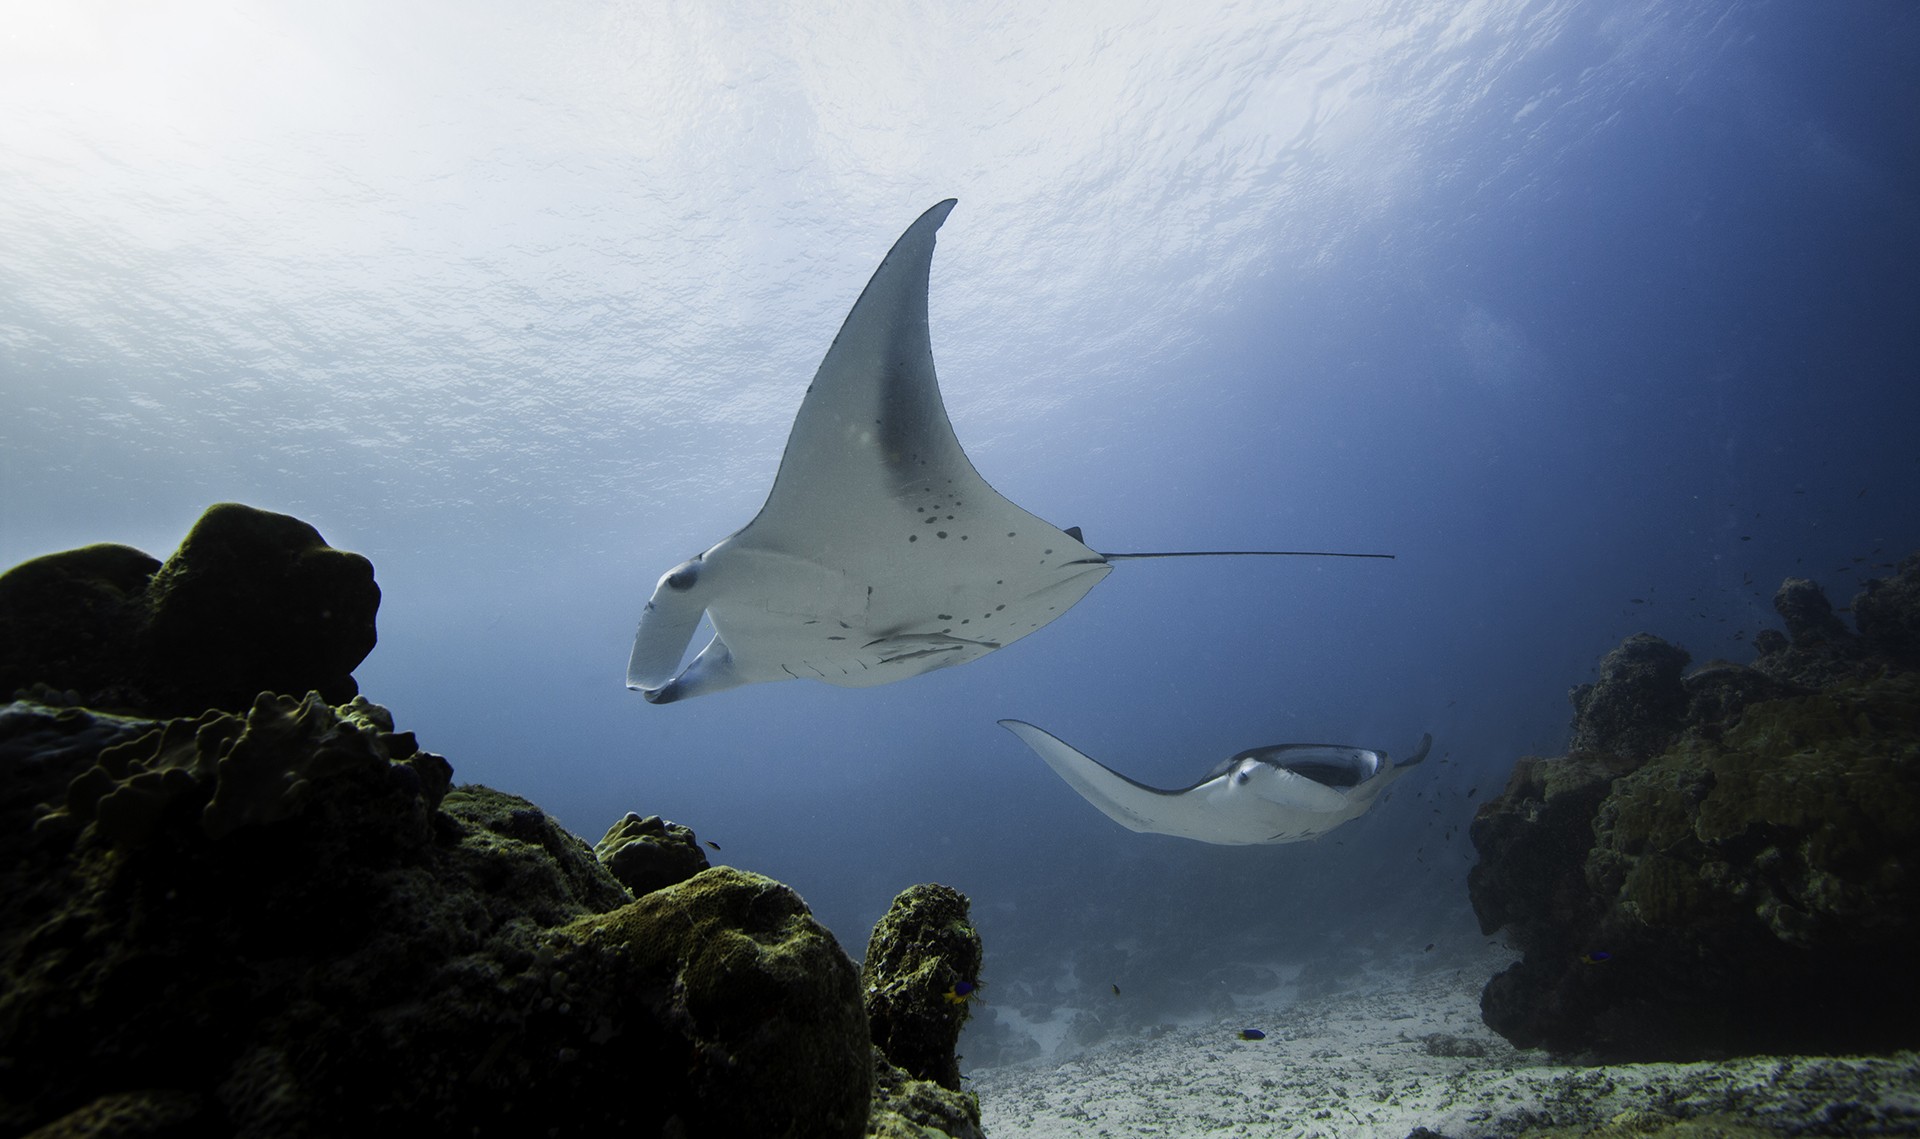
Tip: Speak to your dive guide and get a thorough briefing beforehand, so that you know what to expect underwater. Having the right lens for your camera is essential. When you know you are going on a dive with the possibility of sighting big marine animals like a Manta or Whale Shark, for example, you would want to have a wide lens, say a 15mm. I have ended up with a macro lens on a Manta dive and cursed myself for it. On the other hand, a 100mm macro lens would be ideal when you know you’re on a dive that’s all about the little creatures.
Play with light
This was a special dive for me, as I always wanted to shoot a manta ray against a sun burst. I waited for the right moment to arrive, and as soon as I saw a Manta Ray, I positioned myself on the trajectory to shoot the image.
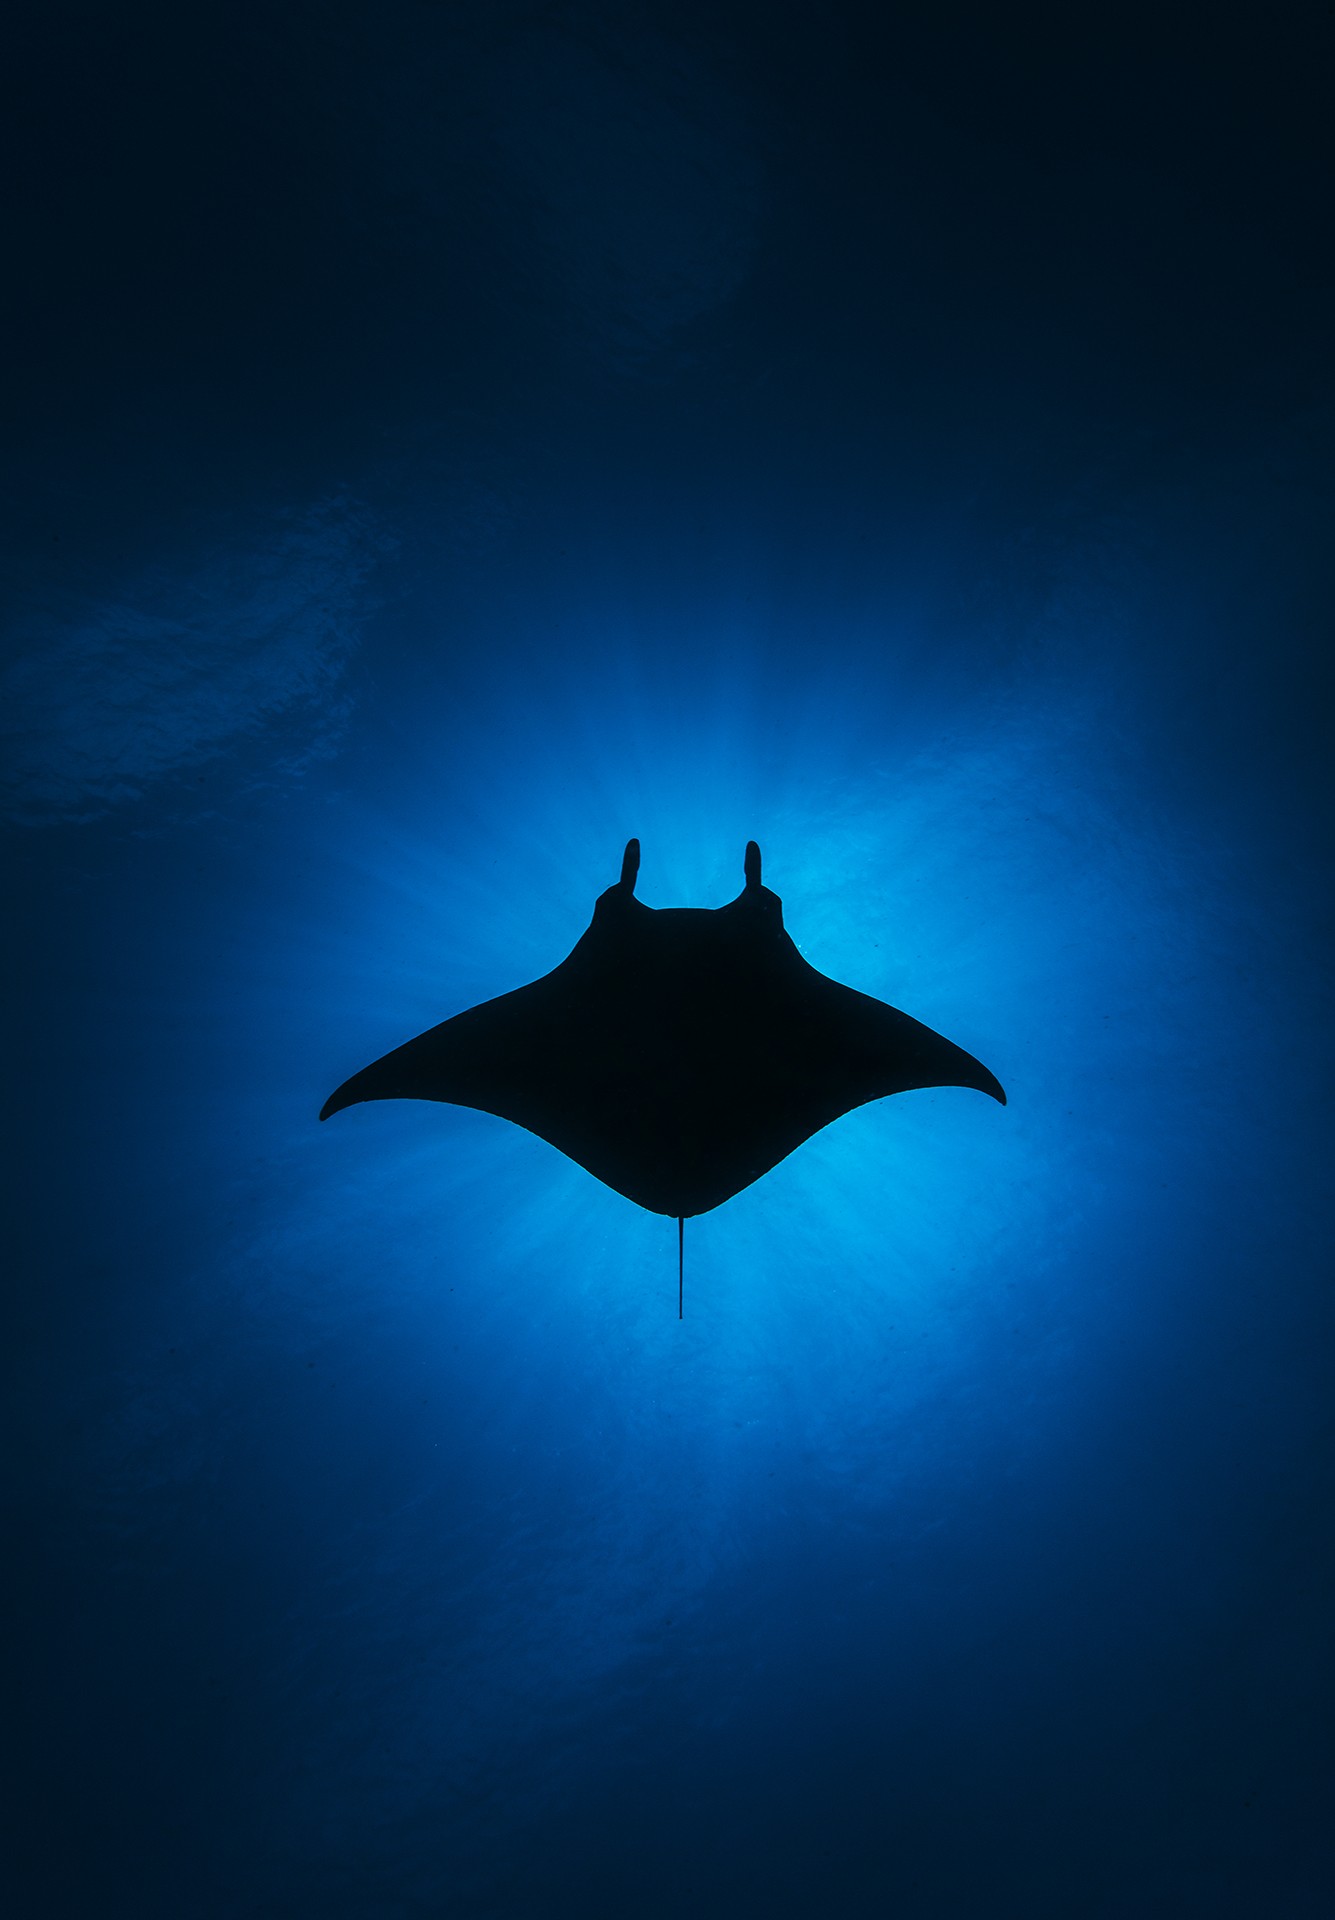
Tip: Light underwater does a lot of different things, and doesn’t always act like you’d expect. As you dive deeper into the ocean, the colour red from the colour spectrum starts to reduce. (As light wavelength changes, so does the ability of light to penetrate water. Blue light penetrates best, green light second, yellow third, but red light is quickly filtered from the water as depth increases.) As you descend to a depth of 30 metres, you will notice everything starts looking more blue on the way down. A fish that appears red swimming at the surface of the ocean, might even appear blackish on deeper dives. The best solution is to carry an underwater strobe with you, or make sure that the camera system that you are using has a built-in flash. It will help you influence light at any depth and give you images with truer colours. Remember, you won’t need to carry any light for shallow dives of around 10 to 15m.
Get low
It was the end of a 7-day live-aboard and 22 dives later, I was tired. But my buoyancy was perfect on this dive – I positioned myself as low as possible above the reef, making sure I didn't break any coral.
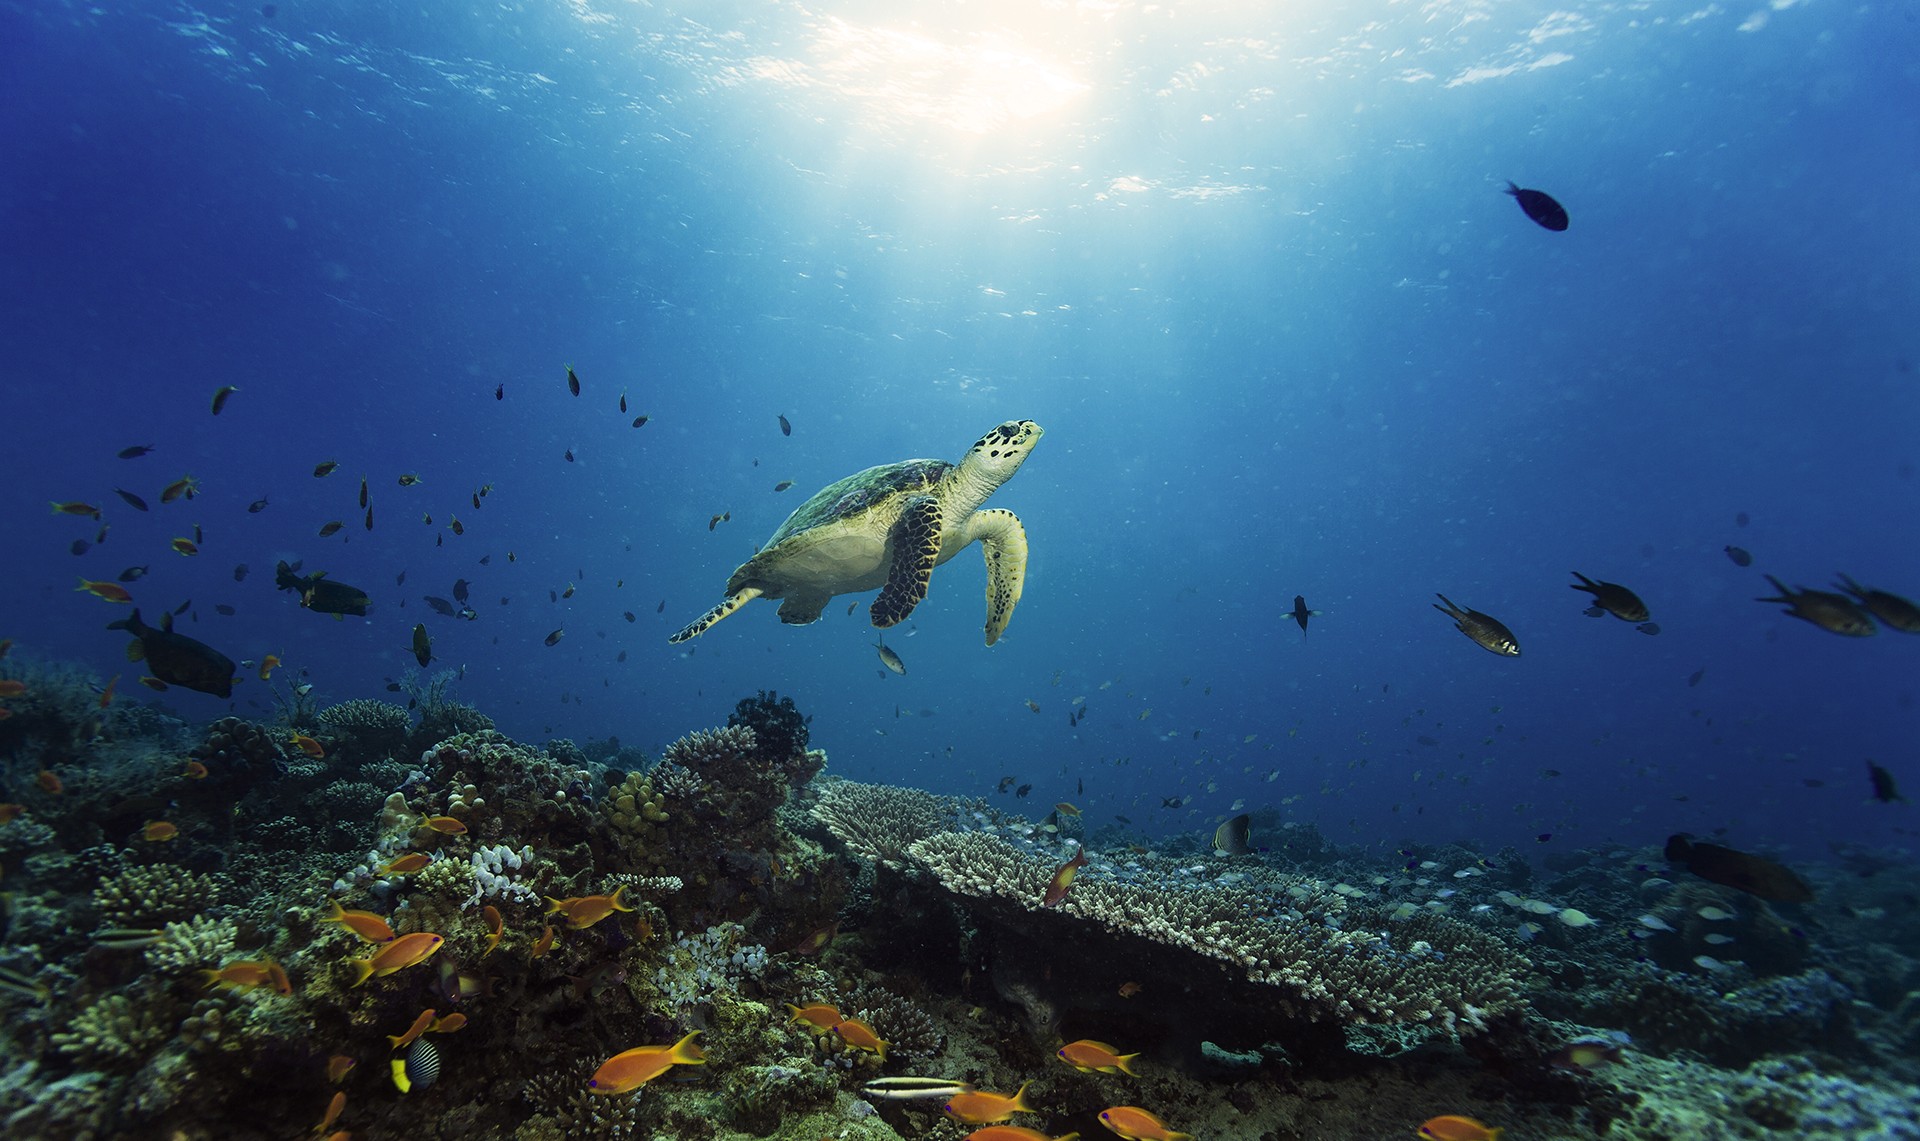
Tip: Get as low as possible, even under your subject whenever you can, so that you can capture the turtle and coral as well as the blue water and the beautiful sunburst above. I have realised that getting as low as you can helps showcase the vastness of the ocean and offers better negative space. It also ensures there is no clutter behind the subject.
Keep close
The night dive at Maaya Thila had always been on my list of top dives to do around the world. It is not the depth that accounts for the thrill (the top of the reef is at a shallow 10 metres) but the variety of sea creatures that one encounters. Sharks, sting rays, giant travelli and eels, to name a few, all hunt in this shallow space and of course make for great images this up, close and personal! It is a diver’s delight.
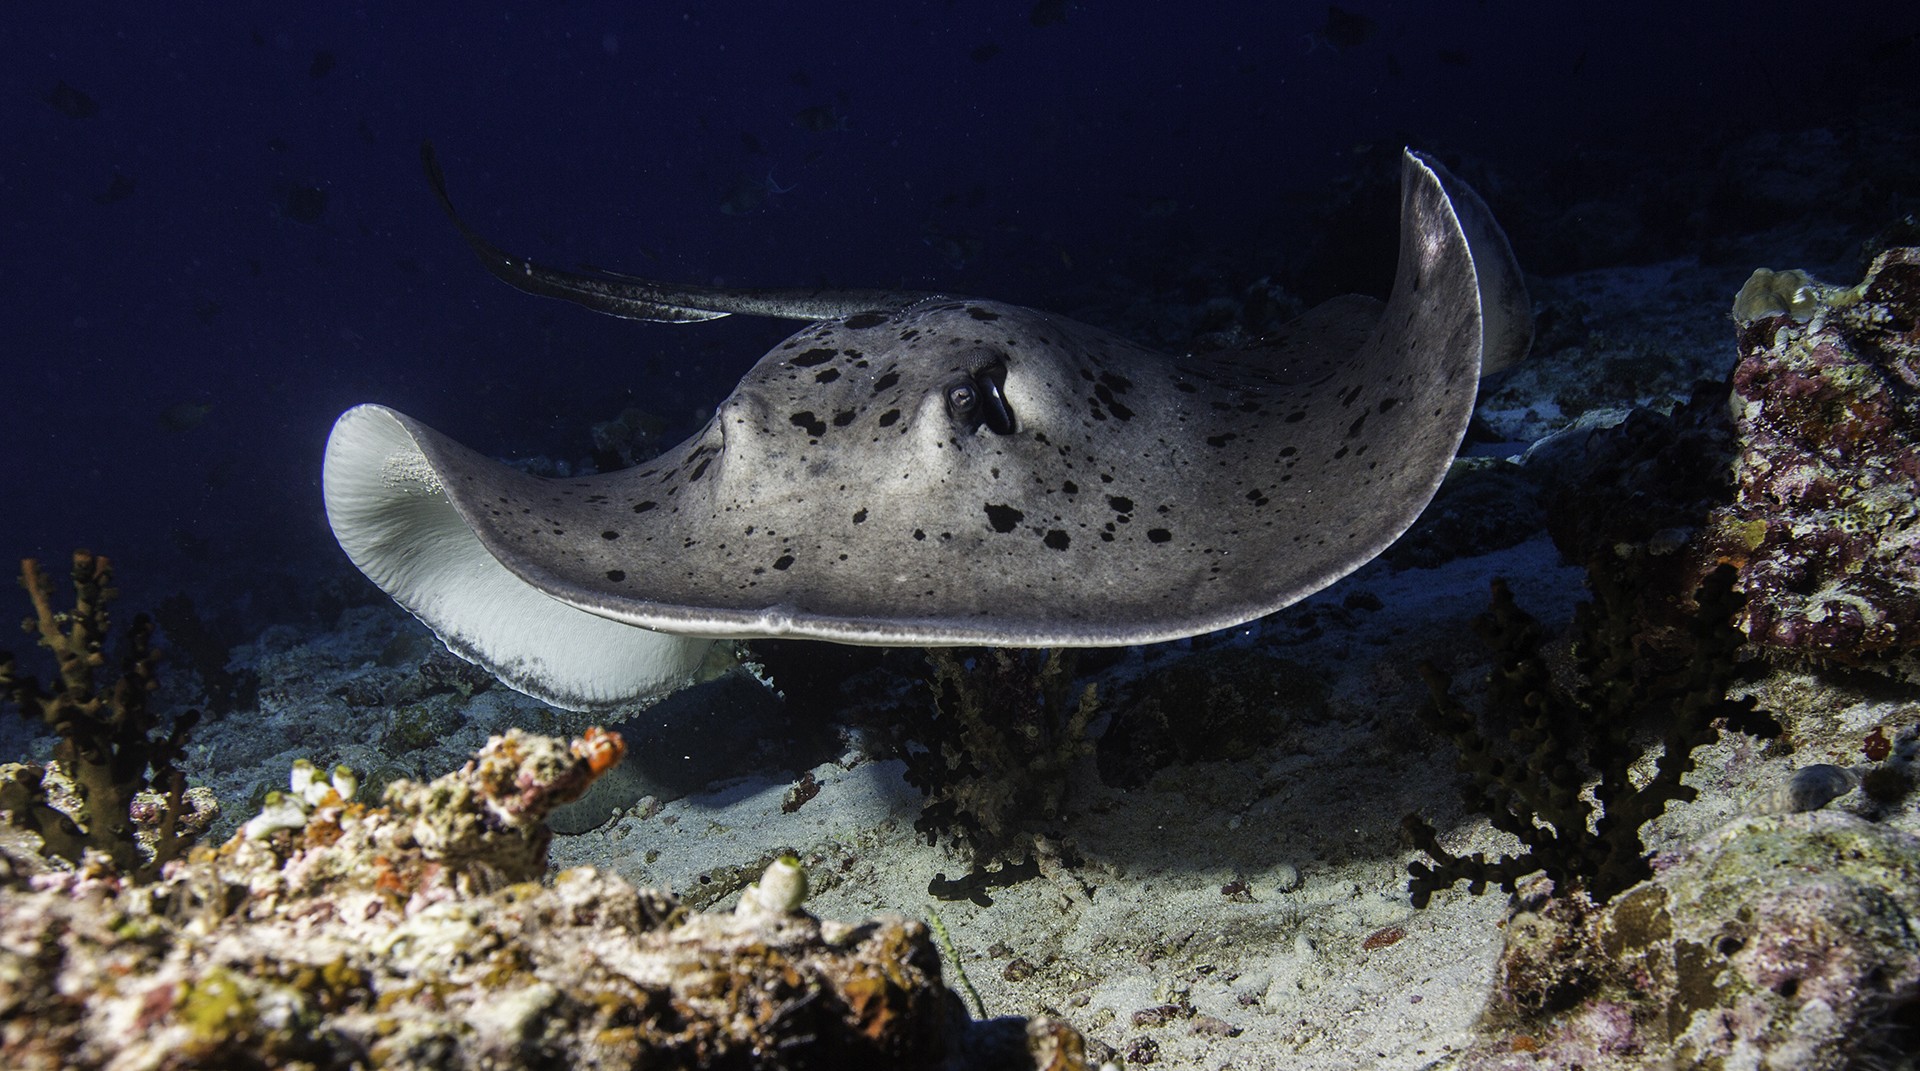
Tip: Get close to your subject, preferably within 2-4 feet. If you are too far away from the subject, it is called ‘shooting through too much water’ and you probably won’t get the image you desire, since water reduces colour, contrast and sharpness. Getting close will also reduce the particles between your lens and the subject, avoiding back scatter (the illumination of the particulate matter in the water between you and your subject).
Perfect the half-and-half
My dive buddy Kamila and I always wanted to shoot this image. It was a challenge and we tried relentlessly till we got it right.
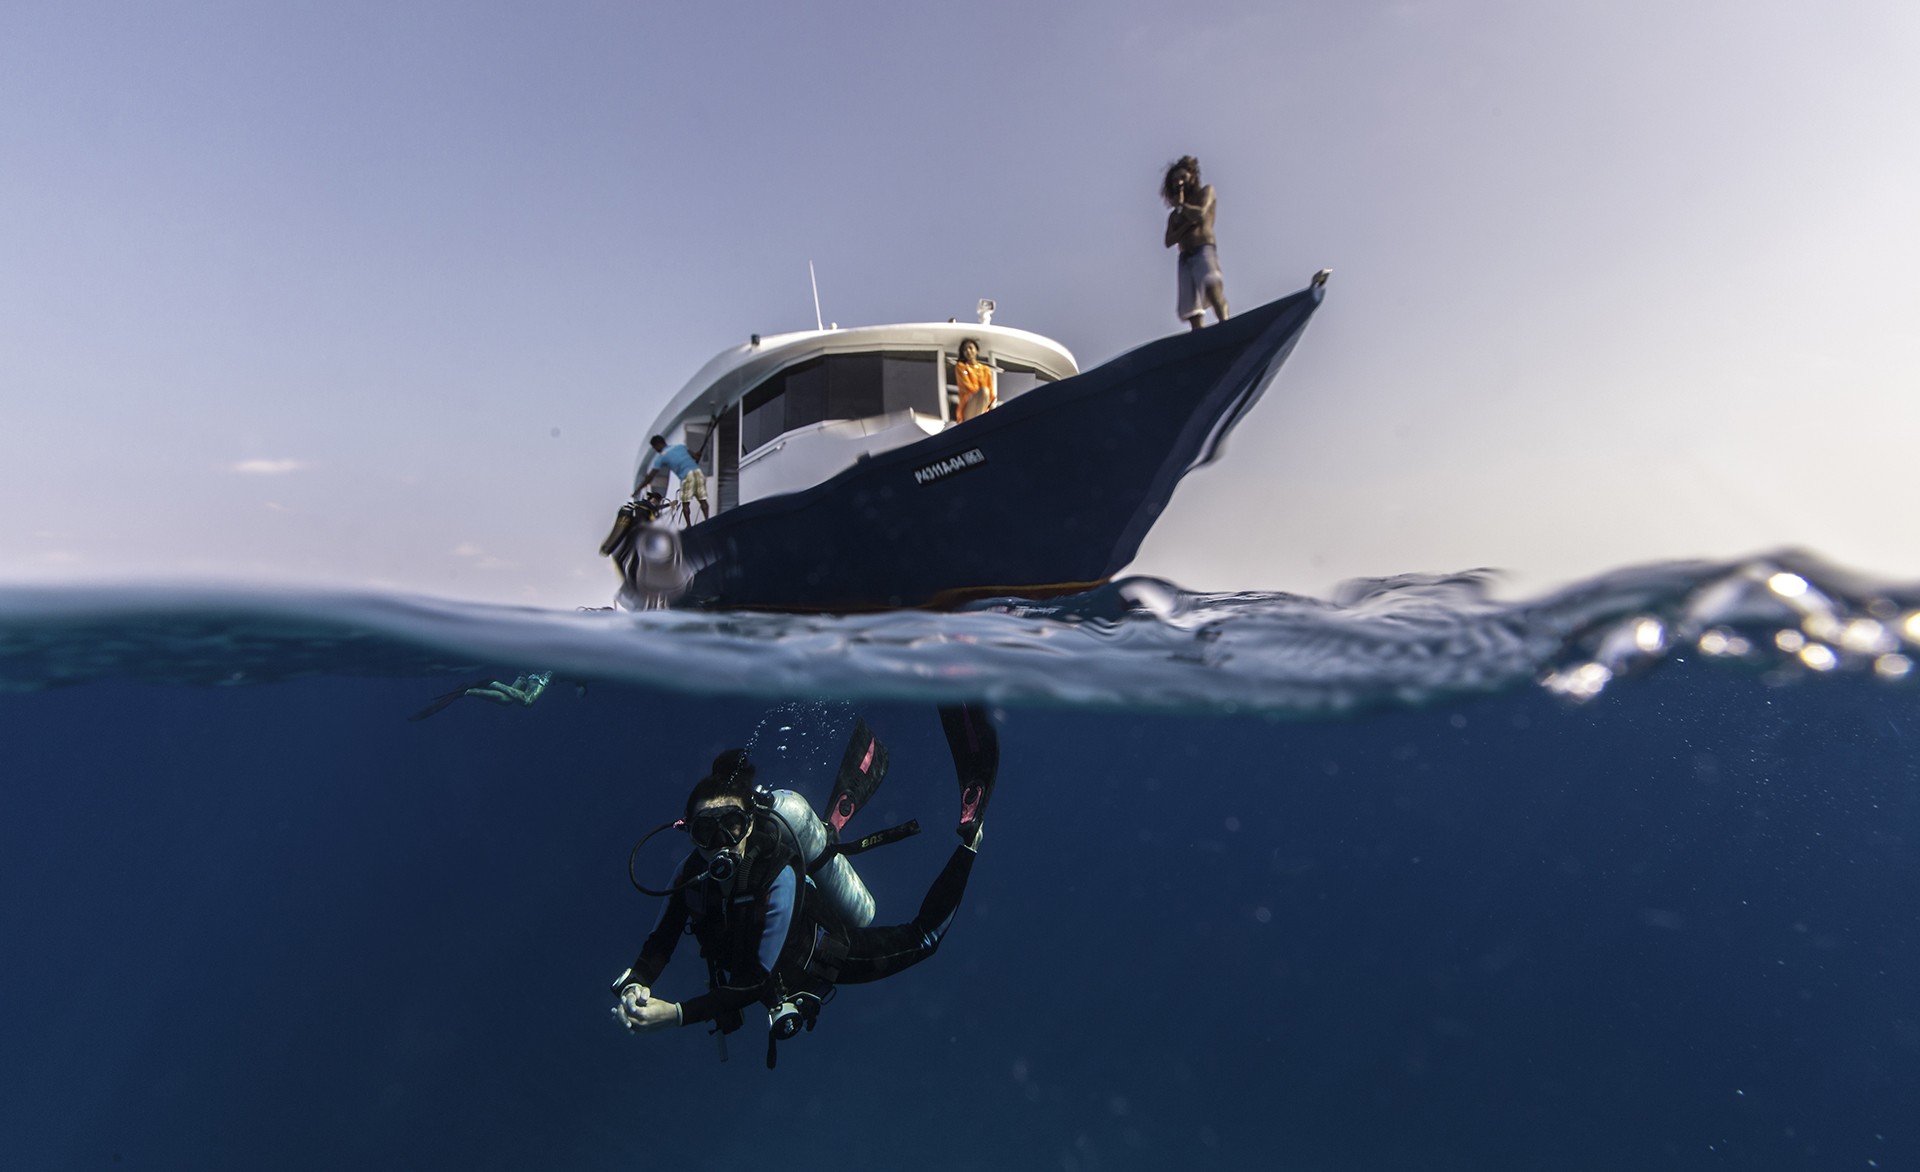
Tip: The ‘half-and-half’ image (half out of the water, and half under) is a challenging one in underwater photography. Using a wide-angle lens and a wide dome port is a good idea when it comes to taking this kind of image. By using a wider dome port you reduce the thick water line caused by the capillary action of water. Another issue you are likely to face is that the focus of the image above the surface is often different from the one under it. This occurs due to refraction under the water, which affects the overall focus. But there’s good news: this can be overcome by using specialised ‘split diopter filters’ designed to compensate for this problem. Another way to do this is to understand where the focus lies above and below, and place your subjects at the right focal distance above and below the water. I also make sure my aperture is between 16F to 22F to ensure my image is sharp overall.
I’ve found that diving underwater and being able to capture the magic that awaits below the ocean’s surface is a thrill matched by very few adventures on land. The magnificence and vastness of the ocean always leaves me humbled, grateful and more sensitive. I hope that these few tips help you on your next dive, and that the experience transforms you as it has done me.
If you’re keen on getting feedback on your underwater photography, send me some images and we can talk about them. My email is here.
Have you read the other stories from our World Ocean Day package?
The Real Tragedy Of The Commons: Why the private takeover of common ocean resources must be at the forefront of our conversations today. By Siddharth Chakravarty
Life In The Undercoral: Looking for the small stuff on coral reefs. By Shreya Yadav